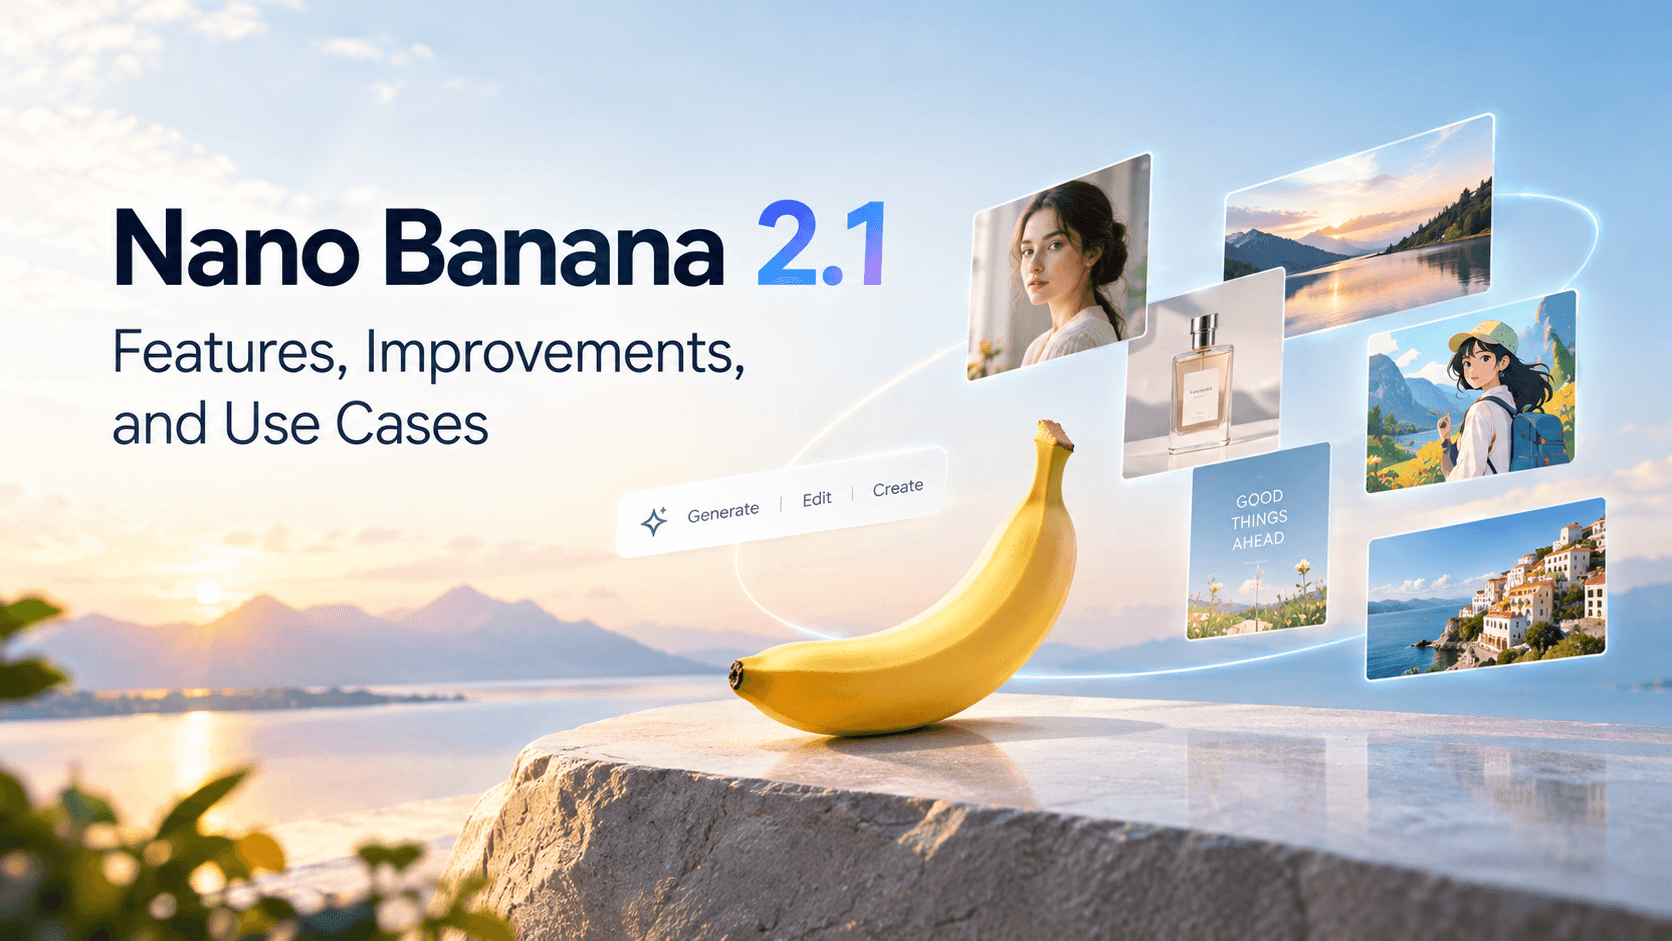
AI image generation has made it easier than ever to turn creative ideas into visuals. However, producing images that accurately follow complex prompts, maintain consistent subjects, render readable text, and meet specific composition requirements remains challenging.
Nano Banana 2.1 aims to address these challenges with improvements to visual generation and editing workflows. From resolution options and prompt understanding to multi-image references and panoramic compositions, the model offers capabilities worth exploring for creators, designers, marketers, and anyone working with AI-generated visuals.
This guide explores what Nano Banana 2.1 is, its main improvements, how it compares with other Nano Banana models, and the practical scenarios in which it can be useful.
What Is Nano Banana 2.1?
Nano Banana 2.1 is an AI image generation and conversational editing model in Google's Gemini model family. It is designed to help users create images from text prompts and refine existing visuals through natural-language instructions.
Instead of relying entirely on manual editing or complicated design workflows, users can describe what they want to create, provide visual references where supported, and refine the output through iterative instructions.
Potential applications include product photography, character design, social media graphics, marketing materials, editorial illustrations, and wide-format visual assets.
The exact features available, supported resolutions, and editing options may vary depending on the platform through which the model is accessed.
Five Key Improvements in Nano Banana 2.1
1. Support for Multiple Image Output Resolutions
Image resolution plays an important role in determining how an AI-generated visual can be used. A small image may be sufficient for a quick concept, while a larger output may be more suitable for detailed artwork, presentation materials, or high-resolution design assets.
Nano Banana 2.1 workflows may offer different output resolution options, such as 1K, 2K, and 4K, depending on the platform and configuration.
· 1K resolution: Suitable for quick concepts, previews, and everyday social media visuals.
· 2K resolution: A practical option for more detailed graphics, larger displays, and general creative work.
· 4K resolution: Potentially useful for high-resolution assets that require more visible detail or additional flexibility during cropping and post-production.
Choosing a higher resolution does not automatically guarantee better image quality. Prompt accuracy, composition, lighting, subject details, and the model's generation capabilities also affect the final result.
When selecting an output resolution, consider the intended use of the image, its display size, and the amount of detail required.
2. More Accurate Understanding of Complex Prompts
A creative prompt often contains several requirements at once. You may need to specify the subject, background, composition, lighting, visual style, color palette, and elements that must remain unchanged.
A model's ability to interpret these instructions directly affects how closely the generated image matches your vision.
Nano Banana 2.1 workflows aim to improve how detailed instructions are handled, making it easier to communicate specific visual requirements in natural language.
For example, instead of writing:
A woman in a garden, beautiful lighting.
You could provide a more structured description:
Create a cinematic portrait of a woman standing in a quiet botanical garden at golden hour. Position her slightly to the right of the frame, with soft sunlight filtering through the leaves. Use a muted green and warm gold color palette, a shallow depth of field, and realistic skin texture. Keep the background uncluttered and leave negative space on the left for text.
The second prompt provides more information about the subject's position, lighting, palette, depth of field, and intended layout.
For the best results, describe the visual outcome you want rather than relying on a long list of loosely connected adjectives.
3. Improved Multi-Image References and Subject Consistency
Maintaining a recognizable subject across multiple images is a common challenge in AI-assisted creative work.
For example, a character may need to appear in several scenes while retaining the same hairstyle, clothing, facial features, and overall appearance. A product may also need to remain visually consistent across different advertising compositions.
Where multi-image reference functionality is supported, reference images can help communicate the details that should be preserved or reused.
Potential applications include:
· Character consistency: Maintaining recognizable character features across different scenes.
· Product consistency: Reusing a product's appearance in multiple marketing visuals.
· Visual storytelling: Creating a series of related images with a recurring subject.
· Brand asset development: Keeping key visual elements aligned across creative materials.
For better results, explain the purpose of each reference image. For example, one image may define the character's appearance, while another establishes the background, pose, or composition.
Reference images can guide generation, but they do not guarantee perfect consistency in every output. Important details should still be checked and refined when necessary.
4. Better Text Rendering and Infographic Layouts
Text inside AI-generated images can be particularly difficult to control. Posters, advertisements, menus, and infographics often require readable wording, clear visual hierarchy, and carefully arranged elements.
Nano Banana 2.1 workflows may help users create graphics that combine visual content with text and layout instructions, depending on the model configuration and platform.
Potential use cases include:
· Promotional posters and advertising creatives.
· Social media graphics with headlines.
· Menus and event announcements.
· Infographics and information-focused visuals.
· Editorial covers and presentation illustrations.
When generating an image that includes text, specify the exact wording, its placement, and the intended hierarchy.
For example:
Create a clean promotional poster with the headline "SUMMER COLLECTION" at the top. Place the product in the center, use a warm cream background, and reserve the lower section for a short subtitle. Keep the typography simple, the layout balanced, and the text clearly separated from the main subject.
For critical brand assets, always verify spelling, punctuation, and layout. Text generation may still introduce errors, especially when the image contains long passages or intricate typography.
5. Improved Wide-Format and Panoramic Image Generation
Wide-format images are useful for website banners, cinematic scenes, campaign headers, presentation backgrounds, and other layouts that need more horizontal space.
Creating a successful panoramic composition requires more than stretching a conventional image. The subject must be positioned appropriately, the background must remain coherent, and the composition must work across the full width of the frame.
Nano Banana 2.1 workflows may support wide-format and panoramic image creation, depending on the available aspect ratios and platform settings.
Common applications include:
· Website hero banners.
· Cinematic landscape visuals.
· Wide social media campaign graphics.
· Presentation and editorial backgrounds.
· Environmental scenes with room for text or additional design elements.
When generating a panoramic image, specify the aspect ratio, the position of the main subject, and where negative space should appear.
For example:
Create a cinematic panoramic landscape at sunset. Position the main mountain range slightly to the right, with a broad open sky extending across the frame. Use natural atmospheric depth, soft warm light, and realistic terrain. Keep the left third relatively uncluttered for a headline.
A clear composition brief helps the model allocate space more effectively and makes the result easier to use in a real design workflow.
How Does Nano Banana 2.1 Compare with Nano Banana 2 and Nano Banana Pro?
The Nano Banana model family includes options intended for different image generation and editing needs. When choosing between them, consider the complexity of your task, the level of control required, output quality, speed, and the features available on your chosen platform.
Comparison | Nano Banana 2.1 | Nano Banana 2 | Nano Banana Pro |
General use | Everyday image creation and editing workflows | General-purpose image generation and editing | More demanding image creation and editing tasks |
Prompt complexity | Useful for detailed visual instructions | Suitable for a broad range of prompts | Worth considering when more control over the final result is important |
Reference-based workflows | Depends on supported platform features | Depends on supported platform features | Depends on supported platform features |
Text and layout tasks | Evaluate results against your text and composition requirements | Evaluate results against your text and composition requirements | Evaluate results against your text and composition requirements |
Best selection criteria | Feature availability and task requirements | Feature availability and task requirements | Required quality, control, and available capabilities |
Main Use Cases for Nano Banana 2.1
1. Product Photography and AI Advertising
Product visuals are essential for e-commerce pages, paid advertisements, landing pages, and promotional campaigns. AI image generation can help creators explore different environments, lighting setups, and compositions without arranging a new physical photoshoot for every concept.
Potential applications include:
· Creating lifestyle scenes around a product.
· Exploring different backgrounds and lighting conditions.
· Developing campaign concepts and advertising variations.
· Producing product-focused social media graphics.
· Creating visual concepts for landing pages and promotional materials.
For product-focused generation, provide a clear product reference when supported and specify which details must remain unchanged.
A useful prompt might be:
Create a premium commercial product photograph using the provided product image as the primary reference. Preserve the product's original shape, proportions, packaging, label, and logo. Place it on a clean stone surface with soft directional lighting and subtle natural shadows. Use a restrained neutral palette and a refined editorial composition. Do not add new labels, decorative text, or unsupported product claims.
Always inspect the output carefully to ensure the product's packaging, branding, proportions, and other essential details have not changed.
2. Character Design and Visual Storytelling
AI image generation can help creators develop characters, explore visual styles, and build a collection of images for a story.
Instead of producing isolated portraits, you can use reference images and detailed descriptions to guide the appearance of a recurring character across different settings.
Potential applications include:
· Character concept art.
· Short-film and animation development.
· Comic and illustrated story creation.
· Social media storytelling.
· Visual development for AI-generated narratives.
For a consistent character, define the features that should remain stable, such as hairstyle, clothing, facial structure, and distinctive accessories. Then describe the scene-specific elements that may change.
For example:
Use the reference image to preserve the character's recognizable facial features, hairstyle, clothing, and accessories. Place the character in a quiet old-town street after rainfall. Use soft overcast lighting, reflective pavement, and a cinematic medium shot. Change the environment and pose while keeping the character's defining appearance consistent.
This approach helps separate identity requirements from scene instructions.
3. Social Media and Editorial Design
Social media content often requires visually engaging graphics that fit a specific platform, campaign, or editorial theme. AI-generated visuals can support early-stage concept development and help creators explore multiple creative directions.
Possible applications include:
· Social media campaign graphics.
· Editorial covers and illustrations.
· Event announcements.
· Promotional posters.
· Visual assets for articles and newsletters.
For these tasks, specify the aspect ratio, visual hierarchy, and any required text. If the image will be used as a cover or banner, describe where the headline should appear and how much negative space is needed.
For example:
Create a premium editorial cover about contemporary travel. Use a minimalist photographic composition with a single traveler in a dramatic coastal landscape. Position the subject in the lower-right area and leave generous negative space across the upper-left for the title. Use natural colors, subtle film grain, and soft atmospheric lighting. Avoid decorative typography and unnecessary visual elements.
A well-defined layout makes the image easier to adapt for publishing and design purposes.
4. Panoramas and Website Banners
Wide-format imagery is useful when a design needs to communicate a scene across a large horizontal area.
Website hero sections, campaign banners, and cinematic backgrounds often benefit from a composition that includes both a clear focal point and sufficient negative space.
When creating a banner, consider:
· Subject placement: Keep the focal point away from areas where interface elements or text will appear.
· Negative space: Reserve an uncluttered area for headlines or calls to action.
· Aspect ratio: Match the output to the intended display format where possible.
· Visual continuity: Ensure the background and lighting remain coherent across the full image.
For example:
Create a wide cinematic banner featuring a misty field at sunrise. Place a small cluster of reeds and wild grasses near the right edge, with a soft layer of fog extending across the landscape. Use muted gold, gray, and pale green tones. Keep the left side open and visually quiet for website headline text. Aim for a natural, atmospheric photograph rather than a futuristic digital scene.
Tips for Getting Better Results with Nano Banana 2.1
1. Use Concrete Descriptions Instead of Stacking Adjectives
A prompt filled with words such as "beautiful," "amazing," "cinematic," and "high quality" may communicate a general mood, but it does not explain exactly what the image should contain.
Concrete visual instructions are usually more actionable.
Vague prompt:
A beautiful, cinematic portrait with amazing lighting and a stunning background.
More specific prompt:
Create a waist-up portrait of a woman standing beside a large window on a cloudy afternoon. Use soft side lighting, natural skin texture, a muted beige and gray palette, and a shallow depth of field. Keep the background simple and position the subject slightly left of center.
The second version defines the subject, framing, lighting, palette, and composition. These details give the model clearer guidance.
2. Structure Prompts Around Key Visual Elements
For complex image generation tasks, organizing your instructions can help you avoid missing important requirements.
Prompt element | What to specify | Example |
Subject | The main person, object, or scene | A glass perfume bottle |
Environment | The setting and background | A pale stone surface beside a window |
Composition | Framing and subject placement | Centered product with negative space on the left |
Lighting | Light direction and quality | Soft morning light with subtle shadows |
Style | The intended visual treatment | Premium editorial product photography |
Constraints | Details to preserve or avoid | Preserve the original label and bottle shape |
You do not need to use a rigid template for every image. The goal is to make the most important instructions explicit, especially when the task involves multiple requirements.
3. Clearly Separate What Should Change from What Must Stay the Same
When editing an existing image, one of the most important steps is distinguishing editable elements from protected details.
For example, if you want to change the background of a product image, explain that the product itself must remain unchanged.
A useful instruction might be:
Replace the existing background with a warm, minimalist studio setting. Preserve the original subject's shape, proportions, colors, surface details, and position. Do not redesign the product or modify its label. Adjust only the environment and lighting so the subject fits naturally into the new scene.
This approach can reduce unwanted changes, although important details should still be checked in the final output.
4. Define the Purpose of Each Reference Image
When using multiple references, do not assume the model will automatically understand which details matter in each image.
Instead, assign a clear role to every reference.
For example:
· Reference image 1: Defines the character's face, hairstyle, and clothing.
· Reference image 2: Defines the background and lighting.
· Reference image 3: Provides the desired pose and camera angle.
Then explain how the references should be combined and which elements take priority.
This is especially useful for product photography, character development, and visual storytelling workflows.
5. Refine Images Through Small, Specific Changes
If the initial output is close to your intended result, avoid rewriting the entire prompt unnecessarily. Instead, focus on the elements that need improvement.
For example:
· Move the subject slightly to the right.
· Reduce the background contrast.
· Make the lighting softer and more natural.
· Preserve the original facial features.
· Simplify the background while keeping the composition unchanged.
Small, targeted instructions make it easier to evaluate each revision and identify which changes improve the image.
6. Choose the Right Resolution and Aspect Ratio
Before generating an image, consider where it will be used.
A square composition may work well for product thumbnails or profile graphics, while a vertical image may be better suited to mobile-first social media content. A wide composition may be more appropriate for website banners and cinematic landscapes.
Similarly, select a resolution that matches your output requirements and the options available on your platform.
Planning the aspect ratio and output size early can help reduce unnecessary cropping and rework.
Frequently Asked Questions
1. What is Nano Banana 2.1?
Nano Banana 2.1 is an AI image generation and editing model associated with Google's Gemini model family. It can be used for creating visuals from text prompts and refining images through natural-language instructions, depending on the platform and features available.
2. Does Nano Banana 2.1 support 4K image generation?
Resolution options depend on the specific model configuration and platform. Some workflows may offer high-resolution output options, but you should check the available settings in the interface or documentation you use rather than assume that every Nano Banana 2.1 implementation supports 4K.
3. Can Nano Banana 2.1 use multiple reference images?
Multi-image reference support depends on the platform and model configuration. Where available, reference images can help guide subject appearance, composition, environment, and other visual details.
For better results, explain the role of each reference and identify which details must be preserved.
4. Can Nano Banana 2.1 generate readable text inside images?
It may be useful for creating posters, advertisements, social media graphics, and other text-based visual assets. However, generated text is not guaranteed to be error-free. Always check spelling, punctuation, alignment, and typography before using the image in published or commercial materials.
5. Can Nano Banana 2.1 edit existing images?
Image editing capabilities depend on the platform through which the model is accessed. Where supported, you can use natural-language instructions to request changes to backgrounds, lighting, composition, or other visual elements.
For edits that require preserving a person's identity, a product's shape, or a brand's logo, clearly identify the protected details and inspect the result carefully.
6. What is the difference between Nano Banana 2.1 and Nano Banana Pro?
The best choice depends on the capabilities offered by each model version and the requirements of your task. Compare them using representative prompts, reference images, and editing instructions. Pay particular attention to output quality, consistency, control, speed, and access limitations.
7. Can Nano Banana 2.1 be used for commercial design?
AI-generated images may be used in commercial design workflows, subject to the terms of the platform, the applicable usage rights, and relevant laws. Before publishing commercial assets, review the platform's terms and check for trademark, copyright, likeness, and other potential issues.
8. How can I get better results with Nano Banana 2.1?
Start with a clear description of the subject, setting, composition, lighting, and visual style. Specify which details must remain unchanged, explain the role of any reference images, and refine the result through small, targeted edits.
For images containing text or important brand elements, carefully review the final output before using it.
Conclusion
Nano Banana 2.1 is worth exploring for AI image generation and editing workflows that require clear visual instructions, iterative refinement, and carefully planned compositions.
Whether you are creating product photography, developing recurring characters, designing social media graphics, or generating panoramic visuals, the key to better results is to communicate your requirements precisely. Define the subject, describe the desired composition, distinguish editable elements from protected details, and review the output before using it.
Rather than relying on a single prompt to produce a perfect image, treat AI image creation as an iterative process. Clear instructions and focused revisions can help you move from an initial concept toward a more usable visual result.